
Last updated November 22, 2026
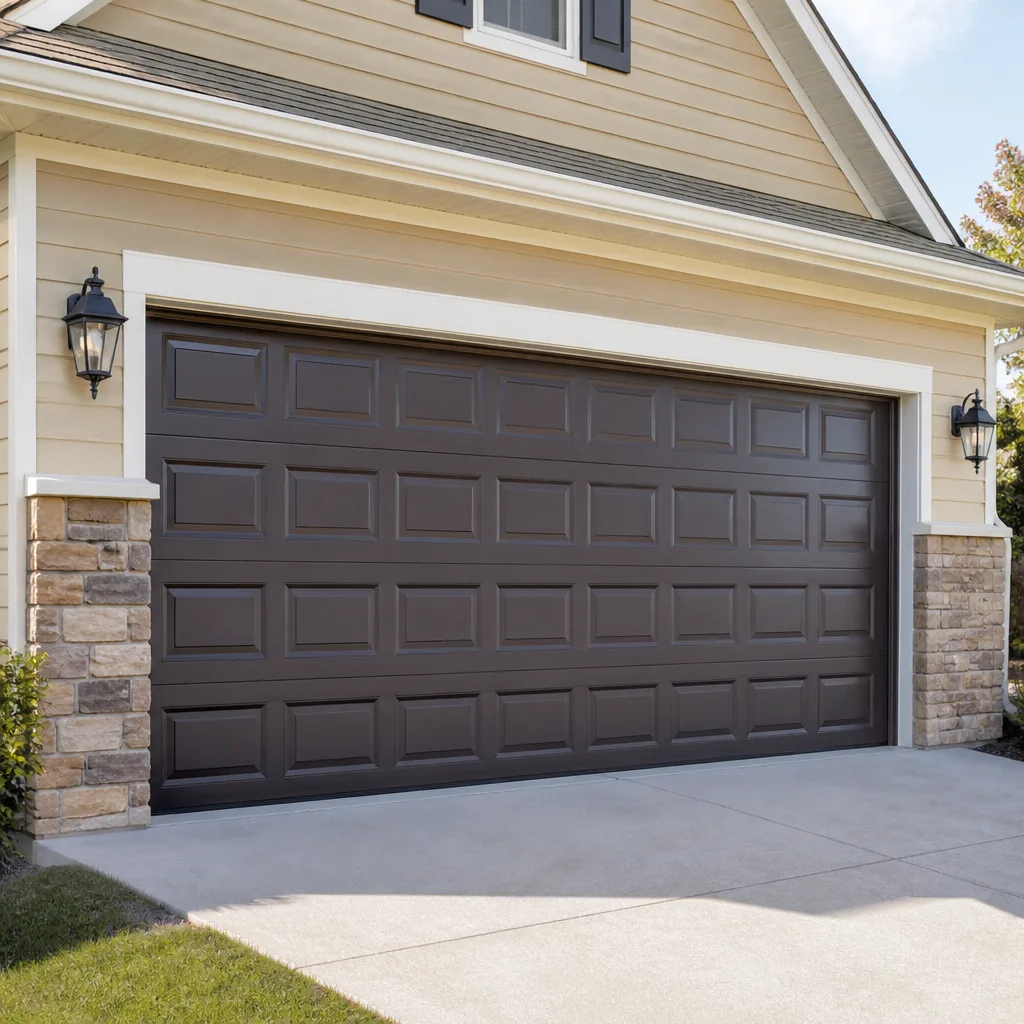 Raised-panel steel
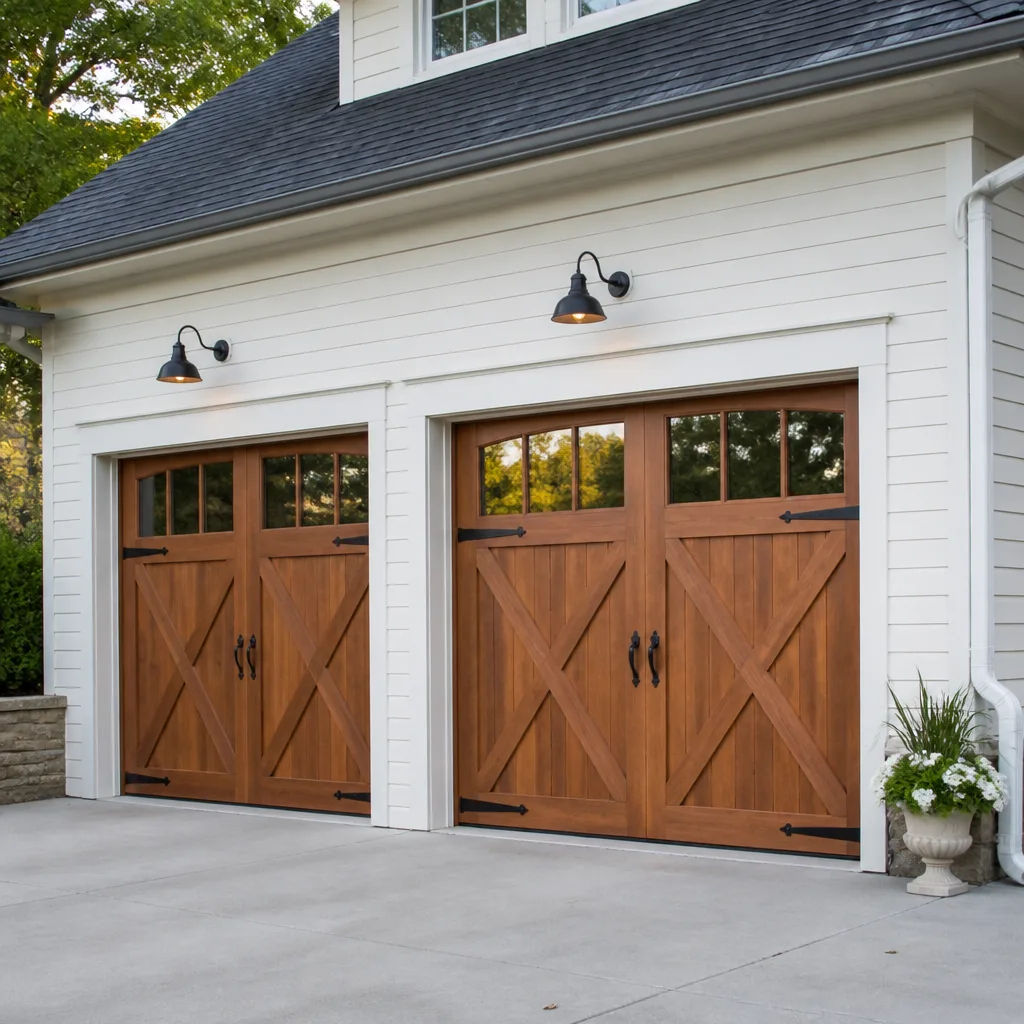 Carriage house
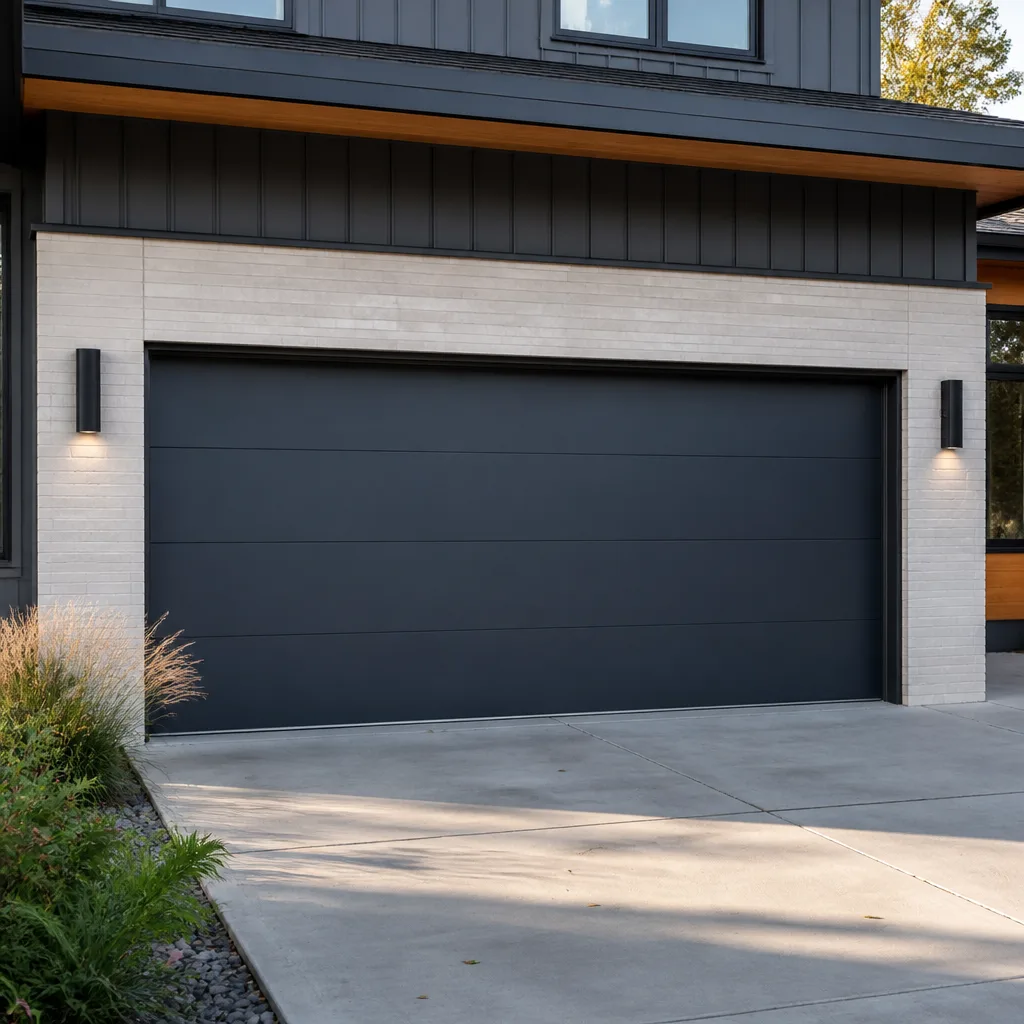 Modern flush
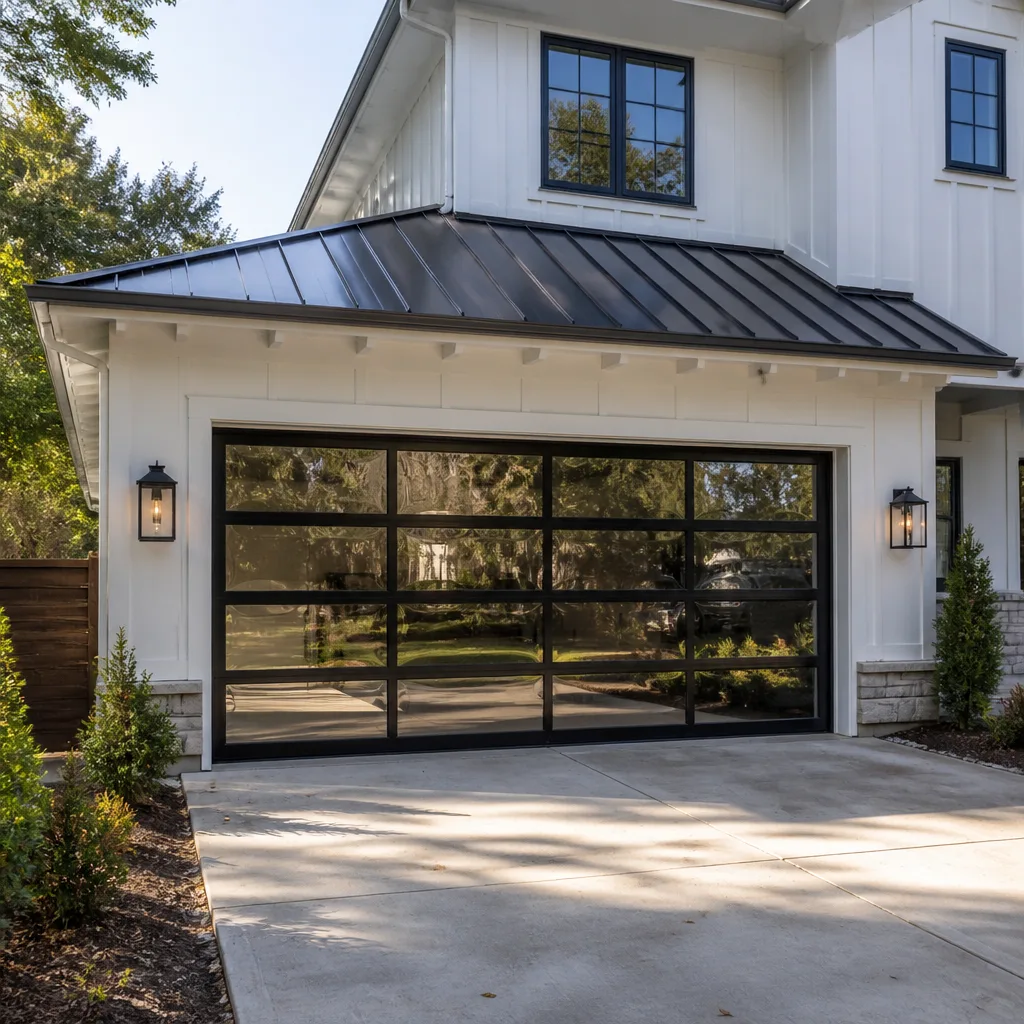 Full-view glass
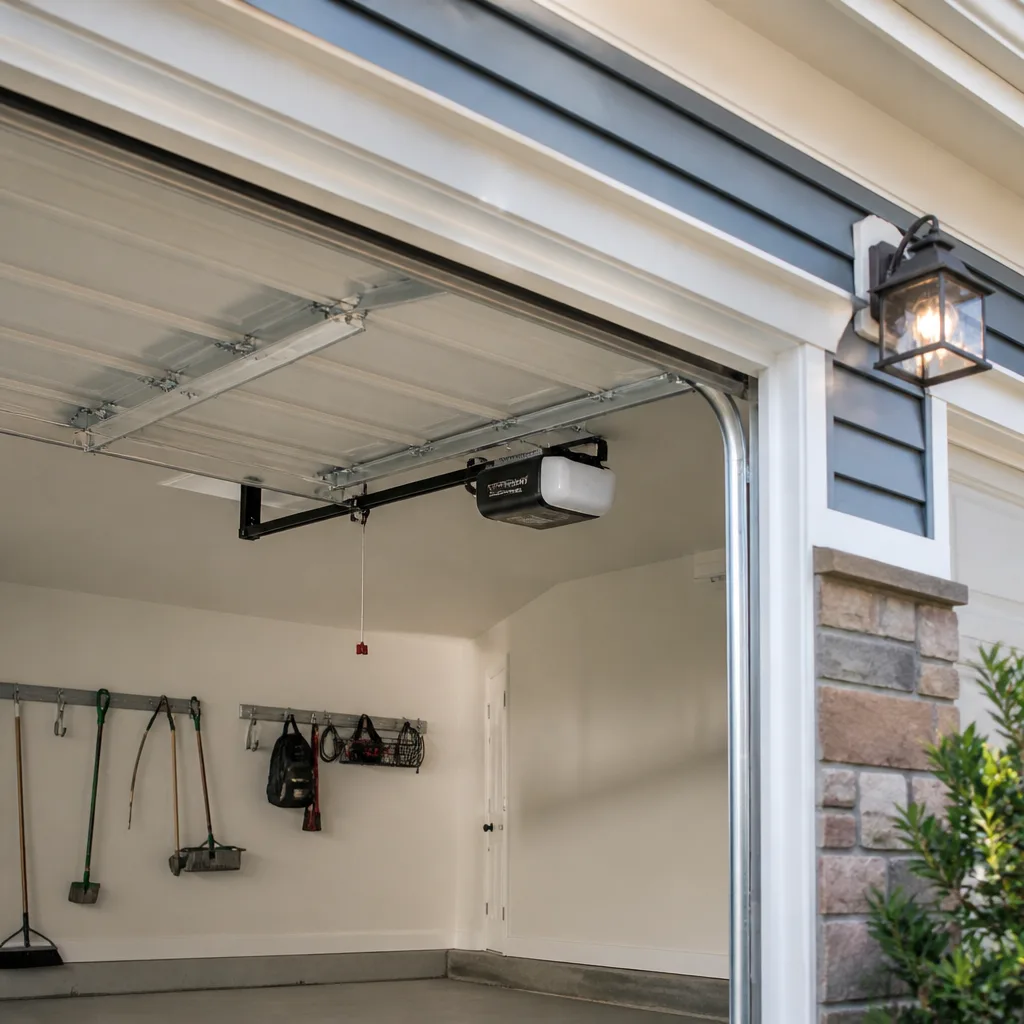 LiftMaster openers
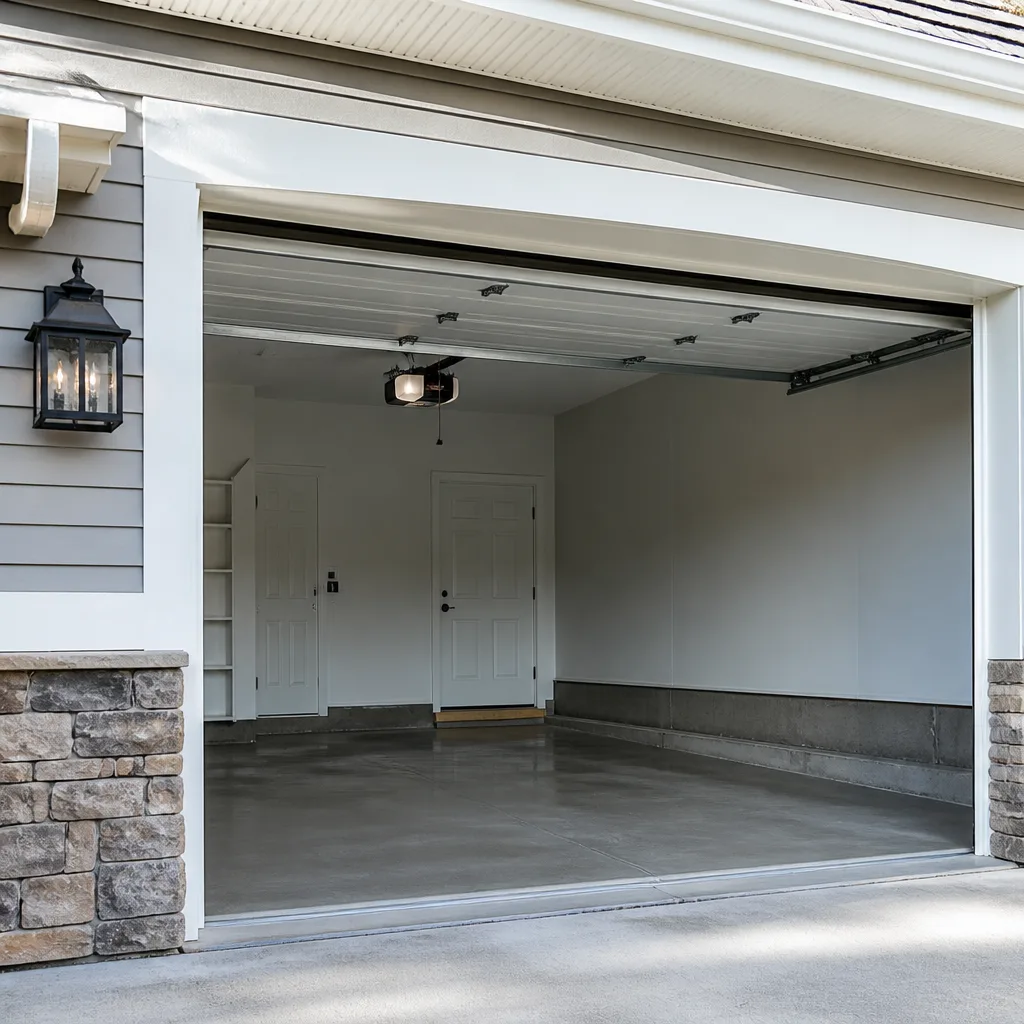 Chamberlain openers
Full 25-point door and opener safety check with every visit - springs, cables, rollers, tracks, and your LiftMaster or Chamberlain opener included
You get a price before we start. It does not change when the pro arrives.
Get your free estimateDIY vs Professional Garage Door: The Hampden Homeowner’s Decision Guide
Torsion springs store enough energy to break a wrist or take out an eye when released incorrectly. That’s not a liability disclaimer. It’s physics. And it’s the reason the DIY-versus-pro question gets muddled: people lump every garage door job into one category, then either pay a professional to reprogram a keypad or, worse, try to wind a spring with a pair of vise grips. Replacing a bottom weatherstrip or re-pairing a remote is a twenty-minute job you can do in your slippers. Swapping a torsion spring is not. This guide draws the line precisely – which tasks in a Hampden home are genuinely safe to handle, which carry real injury risk, and how to run your own diagnosis and prep so you save on labor without ever touching the dangerous parts.
Quick Answer
In a Hampden home, you can safely handle the door’s low-tension, low-voltage, and cosmetic jobs yourself: weatherstripping, roller and hinge swaps on standard doors, remote programming, safety-sensor alignment, and light lubrication. Anything that involves torsion springs, the cables under tension, the bottom bracket, the counterbalance system, or live electrical work at the opener should go to a trained professional. The rule of thumb: if a job requires you to release stored energy or work near a moving spring, it’s a pro job regardless of how simple a video makes it look.
Styles & brands we work with
- Raised-panel steel
- Carriage house
- Modern flush
- Full-view glass
- LiftMaster openers
- Chamberlain openers
Table of Contents
- Where the Line Actually Falls
- The Safe DIY List for Hampden Homeowners
- The Hidden Cost of DIY Spring Work
- Opener Programming and Sensor Alignment: The Legit DIY Category
- How DIY Repairs Affect Warranties and Insurance
- The Middle Path: Diagnose Yourself, Hire the Repair
- What Hampden’s Climate Does to Your Door
- Repair or Replace? How to Decide
Where the Line Actually Falls
The DIY debate usually frames garage door work as a skill ladder: easy jobs at the bottom, hard jobs at the top. That framing is wrong. The real dividing line is stored energy. A torsion spring on a double-car door holds hundreds of pounds of force when it’s wound. A tension spring does the same on the track. When either lets go while your hands are in the assembly, the results are serious, and this is not a job where “going slow” makes it safe. Meanwhile a lot of genuinely useful tasks involve almost no stored energy at all.
Here’s how we think about it when we talk a Hampden homeowner through their door over the phone:
- Stored-energy jobs are pro jobs. Torsion springs, extension springs, cables, the bottom bracket, and the drum assemblies all hold or direct tension. That includes “just adjusting” a spring that’s already installed – the adjustment itself is the hazard.
- Low-energy, low-voltage jobs are DIY-friendly. Weatherstripping, bottom seals, rollers, hinges, remote and keypad programming, sensor alignment, and lubrication. These carry real but manageable risk (a pinched finger, a dropped screw) rather than wrist-snapping risk.
- Structural or electrical jobs are pro jobs. Replacing a bent track section, re-hanging a door that’s come off its track, or touching wiring inside the opener housing. These combine weight, alignment, and live current in ways that punish guesswork.
This line holds across every brand, which is useful to know before you buy parts. A Craftsman door and a Raynor door are built the same way when it comes to what’s dangerous: the physics don’t care whose label is on the panel.
Why the Line Matters in Hampden Specifically
Hampden homes see wide seasonal swings – warm, dry summers and cold winters that work the seals and the springs hard. That means more of your door’s wear shows up in the sealed and moving parts, which is exactly the DIY zone. Handling the cheap stuff yourself leaves budget for the jobs that genuinely need a trained pair of hands. Getting that mix right is the whole game.
The Safe DIY List for Hampden Homeowners
These are the tasks we’d confidently tell a neighbor to do themselves. They’re low-risk, they don’t require specialty tools, and the failure mode if you get it wrong is a call to us, not a trip to urgent care.
- Replace the bottom weather seal. A cracked, flattened bottom seal lets in cold air and water and is a common Hampden complaint after winter. It slides or unscrews off the bottom of the door. No stored energy involved.
- Swap a roller or hinge. If a single roller is squeaking or grinding, you can replace it with the door fully closed and supported. The roller is held by a hinge bracket you can unscrew. This is one of the few moving-part jobs that’s genuinely homeowner-safe.
- Program a remote or keypad. Replacing a lost remote or resetting a keypad PIN is a manual-and-patience job. Craftsman and LiftMaster units in particular have straightforward programming steps printed on the opener head or in the manual.
- Align the safety sensors. If the door reverses for no reason, the photo-eye sensors are usually knocked out of alignment or have a cobweb or leaf in front of the lens. Cleaning and re-aiming them is safe and quick.
- Lubricate the moving parts. A garage door-specific lubricant on the rollers, hinges, and tracks keeps things quiet. Do not grease the tracks themselves – that attracts grit. Wipe the tracks clean instead.
- Light cleaning and inspection. Wiping down the tracks, checking for loose bolts by hand, and looking for frayed cables (without touching them) are all safe. If you spot a fray, stop and call – don’t investigate further.
Two things worth flagging: always unplug the opener before working near the door, and never put your fingers anywhere near the spring, cable, or bottom bracket while checking for problems. Visual inspection only for those.
The Hidden Cost of DIY Spring Work
This is where the savings math gets interesting, and where most of the DIY discussion goes wrong. Because torsion spring replacement looks like a parts-swap job on video – unscrew, wind, done – people price it as a $60 part and a Saturday. The real math has more lines in it.
The tooling is specialized. Winding a torsion spring correctly requires the right diameter winding bars, a solid understanding of which way the spring is wound, and the discipline to keep your body out of the line of release. Buying the bars is cheap; buying the judgment that comes with having done it hundreds of times is not on Amazon.
The risk exposure is the real cost. A torsion spring under load releases stored energy instantly. The single most common injury in garage door work is hands and arms during spring handling. That’s the exposure you’re accepting for the savings.
The savings are smaller than they appear. A professional spring replacement includes the correct spring matched to your door’s weight, a balanced adjustment, and a check on the cables and bottom bracket while the assembly is open. If a DIY swap gets the spring weight wrong or leaves the door unbalanced, the opener wears out faster, the cables take extra load, and you’re paying for a second visit anyway. The written estimate before any work starts tells you exactly what the professional job costs – and it’s usually less than the “saved” labor plus one avoidable callback.
This is the job where we most often tell Hampden homeowners to stop. Springs aren’t a trust-building pitch – they’re a genuine safety line. A matched pair is usually replaced together, so plan for two springs, not one, when you’re budgeting. When it’s time, garage door repair covers the whole assembly, and we can talk it through on the phone first.
Opener Programming and Sensor Alignment: The Legit DIY Category
Here’s the part of the garage door that has no springs in it and is genuinely fine to handle yourself: the opener electronics. Remotes, keypads, travel limits, and sensor alignment are all low-voltage and safe to work on. This is also where we see the most callbacks from DIY attempts – not because the job is dangerous, but because one step gets skipped.
The steps most homeowners miss:
- Clear the path, then test. Before programming anything, close the door and watch it. If it reverses or stops midway, the problem is travel limits or sensor alignment, not the remote. Fix that first – programming a remote onto a misbehaving opener just gives you two problems.
- Read the opener head, not just the video. Most LiftMaster and Chamberlain openers print the programming procedure on the back or side of the motor head. The video for a different model is the single most common source of “it didn’t work.”
- Pair the remote last, and confirm with the wall button. Programming the remote is the final step, not the first. If the door won’t move from the wall button, don’t bother with the remote.
- Align sensors with a physical reference, not eyeballing. Both sensor lenses should point at each other and the indicator light on each should be solid. A small bracket bend or a sticker blocking the lens is almost always the cause of a reversing door.
- Recognize when it’s electronics and not programming. A flashing error code, a motor that hums without moving, or a wall button that works while the remote doesn’t usually means a failed logic board or a wiring fault – that’s a garage door opener repair beyond usual DIY territory.
Handling the programming yourself is smart. It costs you twenty minutes and saves a service call, and it’s a task where the only real risk is frustration. When it moves past programming into hardware trouble, that’s what we’re here for.
How DIY Repairs Affect Warranties and Insurance
This is the least-discussed cost of DIY, and it matters. Most garage door and opener manufacturers tie their warranty coverage to proper installation and to work performed correctly on the system. When a torsion spring is replaced by someone who isn’t trained for it, or when a door is rewired in a way that voids the opener’s coverage, the manufacturer can decline a later warranty claim on the affected part. That doesn’t happen on every job, but it’s the risk you’re accepting when you take on a system-level repair yourself.
Homeowner’s insurance is a separate question. Coverage and claim handling are set by your own policy, so we can’t tell you what yours will or won’t cover – that’s a conversation for your insurer. What we can say is that documented, professional repair work is simpler to talk about with an adjuster than an undocumented DIY fix, and that’s worth factoring into the math on anything beyond the basic DIY list.
One practical point for Hampden homeowners: if the door is still under a manufacturer or installer warranty, keep the paperwork and keep the repair record. When a technician works on a Craftsman or Genie system and notes what was done, that record travels with the door. It’s a small thing that pays off if you ever sell the house.
The Middle Path: Diagnose Yourself, Hire the Repair
You don’t have to choose between full DIY and full handoff. The best use of your time is to do the safe part – the diagnosis and prep – and let a professional handle the dangerous part. That’s the approach we recommend to Hampden homeowners who want to keep costs down without an unnecessary risk.
Here’s how to run it:
- Watch the door cycle. Open and close it slowly. Note where it binds, jerks, squeals, or reverses. Write down what you see – a technician will use that.
- Check the simple stuff first. Weatherstrip condition, sensor alignment, remote batteries, and track cleanliness. Rule out the DIY-level causes before assuming a repair is needed.
- Photograph anything unusual. A bent track, a frayed cable, a worn roller – a photo helps diagnose over the phone and lets the technician arrive prepared.
- Clear the work area. Move the car, clear the floor, and make sure the door’s path is unobstructed. This is genuinely helpful whether it’s you or a pro doing the work.
- Do the safe repair yourself, and call for the rest. Replace the weatherstrip, swap the roller, align the sensor. When the job crosses into the spring, cable, bracket, or structural territory, stop and call.
When it’s a spring or counterbalance job, we can diagnose over the phone and talk through the likely cause before anyone commits to a visit. That’s how a Hampden homeowner saves on labor without touching the parts that can hurt them.
What Hampden’s Climate Does to Your Door
Hampden’s weather is a factor in the DIY decision because it changes which parts wear first. Warm, dry summers and cold winters are hard on the parts that seal and move: rubber weatherstrip hardens and cracks, spring steel fatigues faster under repeated thermal cycling, and the rollers and hinges take on grit and lose lubrication. That means more of your repairs will land in the DIY-friendly category – seals, rollers, lubrication – and those are the ones worth handling yourself.
At the same time, the seasonal swing is why spring work shouldn’t wait. A spring that’s been through enough winters is closer to failing, and the failure itself is the risk. If your door groans, lifts unevenly, or won’t stay closed, it’s the counterbalance telling you it’s tired. That’s not a “watch it for another season” problem in Hampden – it’s a call. If you want the full picture on what fails and when, our Hampden Garage Door Repair guide covers the parts and the seasons in more detail.
Repair or Replace? How to Decide
Sometimes the DIY question becomes a bigger one: is this worth fixing at all? The honest answer depends on the door’s age, the repair cost relative to a new door, and whether the rest of the system is still sound. A door that needs one spring is a repair. A door that’s warped, has a bent track, failed springs, and an opener on its way out is a conversation about replacement – and we’ll tell you which one it is rather than pushing the bigger job.
When replacement is the answer, it’s scheduled work: the door is measured, ordered, and installed. That’s a planned project, not a same-day repair, and it’s a chance to match the new door to the opener you already own. It’s the same single call that covers the repair and the eventual replacement, which is the point of having one specialist you don’t have to re-explain the system to. Our garage door installation process covers the measure-through-install path if you’re leaning that way.
Common Mistakes to Avoid
- Buying the spring before reading the label. Torsion springs are weight-rated to the door, and the wrong one leaves the door unbalanced. In Hampden’s winters, an unbalanced door wears the opener and cables fast. Match the spring to the door, or let us do it.
- Greasing the tracks. This is the classic DIY misstep and it makes things worse. Grease collects grit in the track and the door starts to bind. Clean the tracks, don’t lubricate them.
- Adjusting the spring “just a little.” There is no safe small adjustment on a loaded torsion spring. The winding bar and the release are the dangerous part. Leave it alone.
- Programming a remote before testing the door. If the door reverses or the travel limits are off, the remote won’t fix it. Test with the wall button first, then pair the remote.
- Ignoring a fraying cable. Cables are under tension and a fray is early failure. Don’t touch it, and don’t keep operating the door on it. Call.
- Replacing a roller with the wrong size. Rollers come in different diameters and the wrong one wears the track. Match the replacement to the original.
- Comparing repair cost to parts-cost instead of to the full pro job. A spring repair includes the correct spring, the balancing, and a check on the surrounding parts. Price the whole job before you decide the DIY savings are worth it.
See the difference
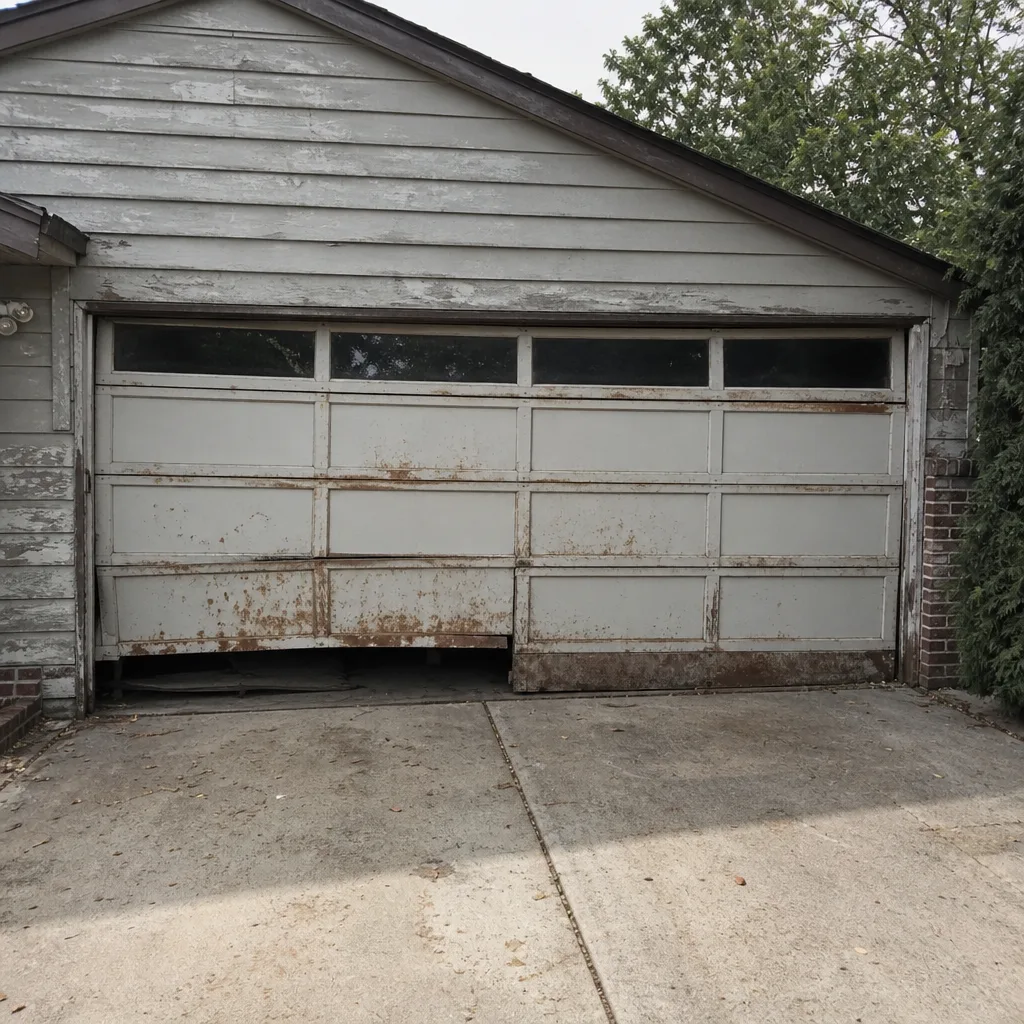 Before
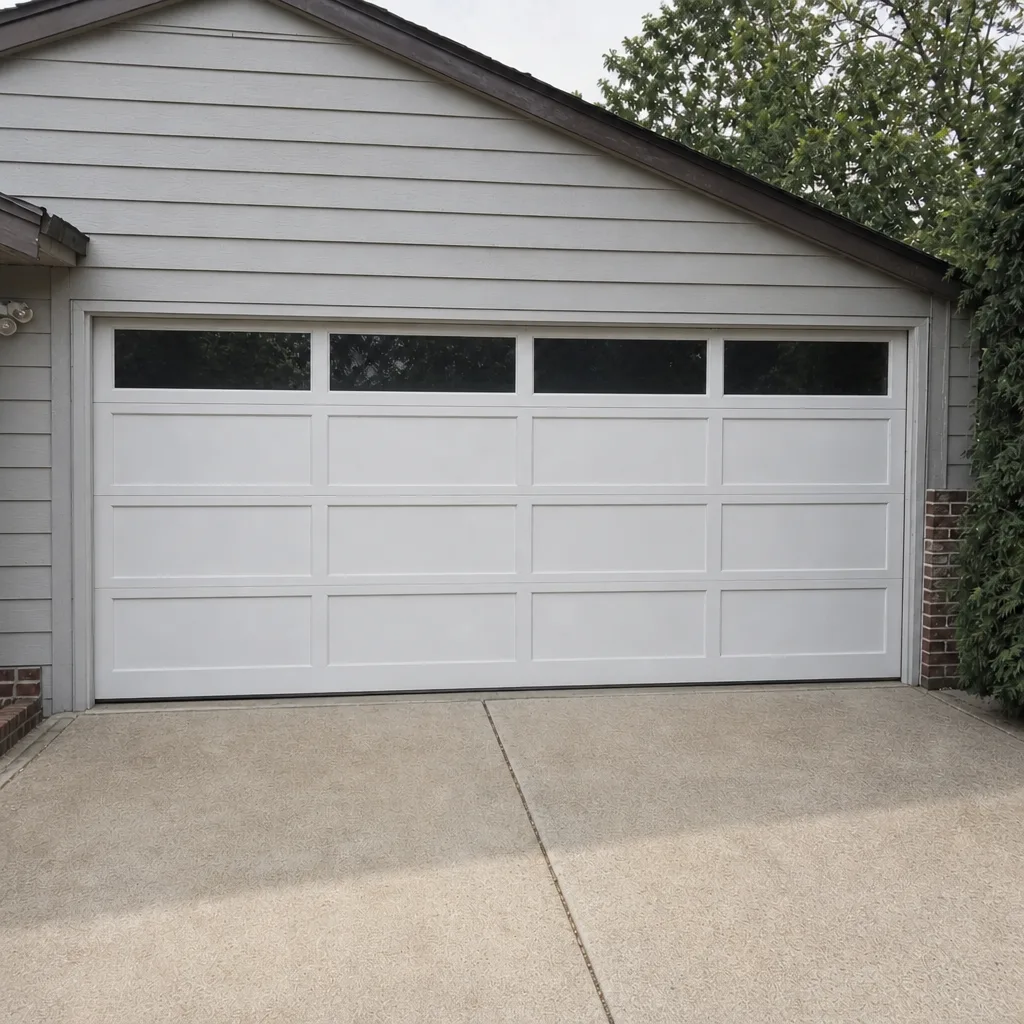 After
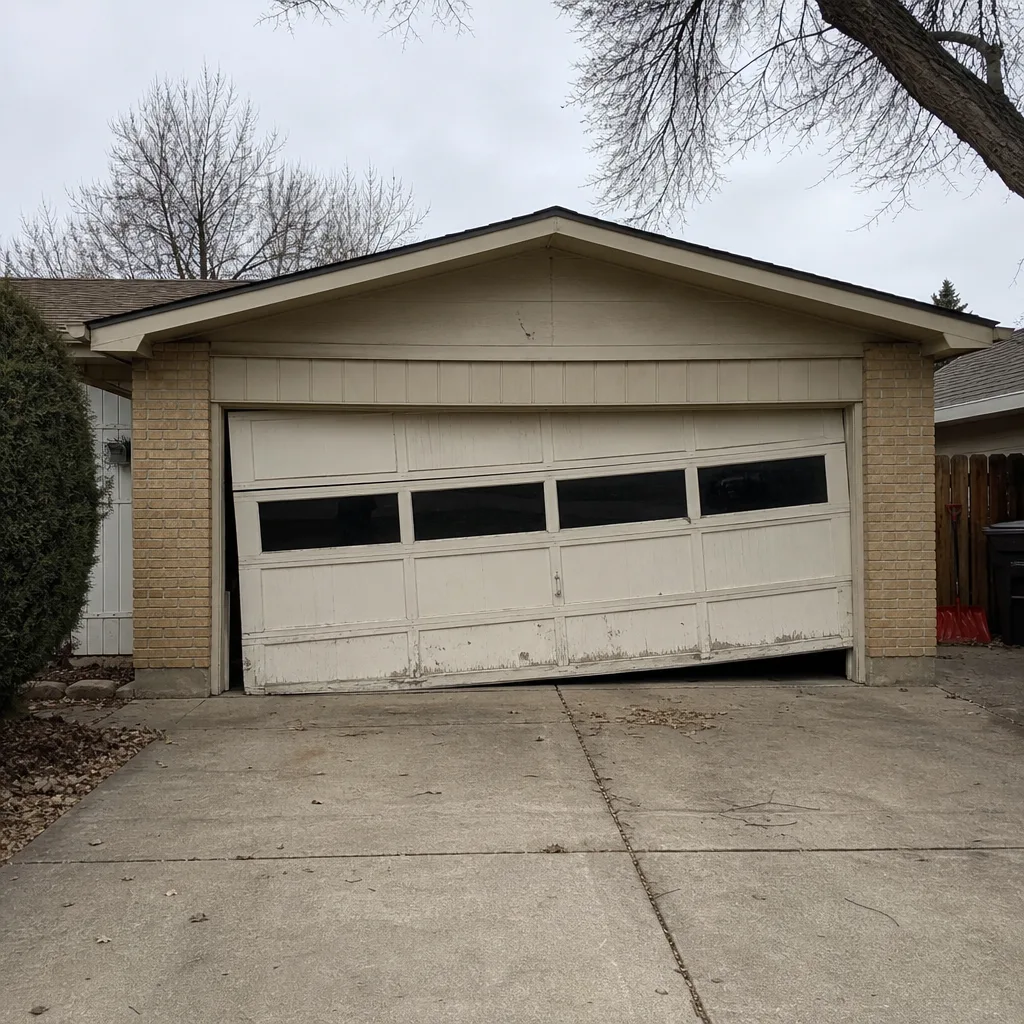 Before
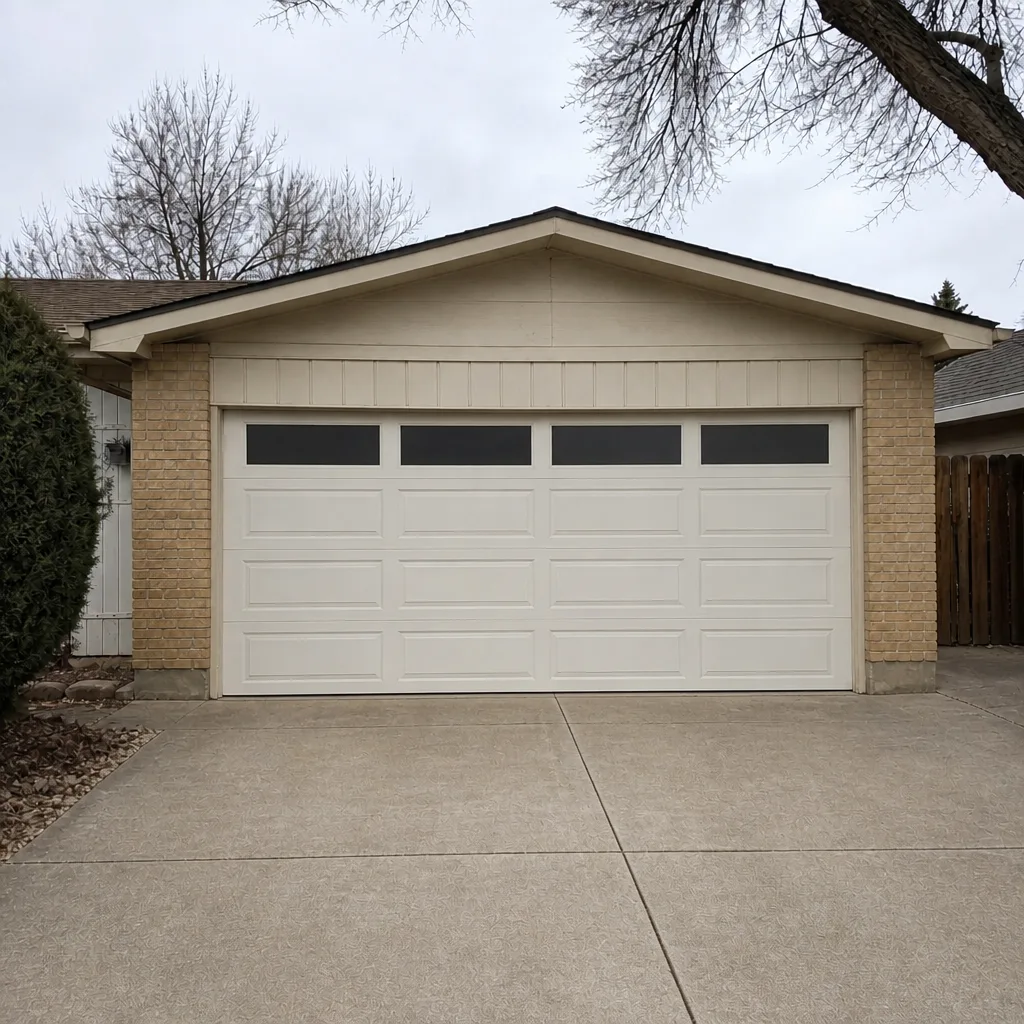 After
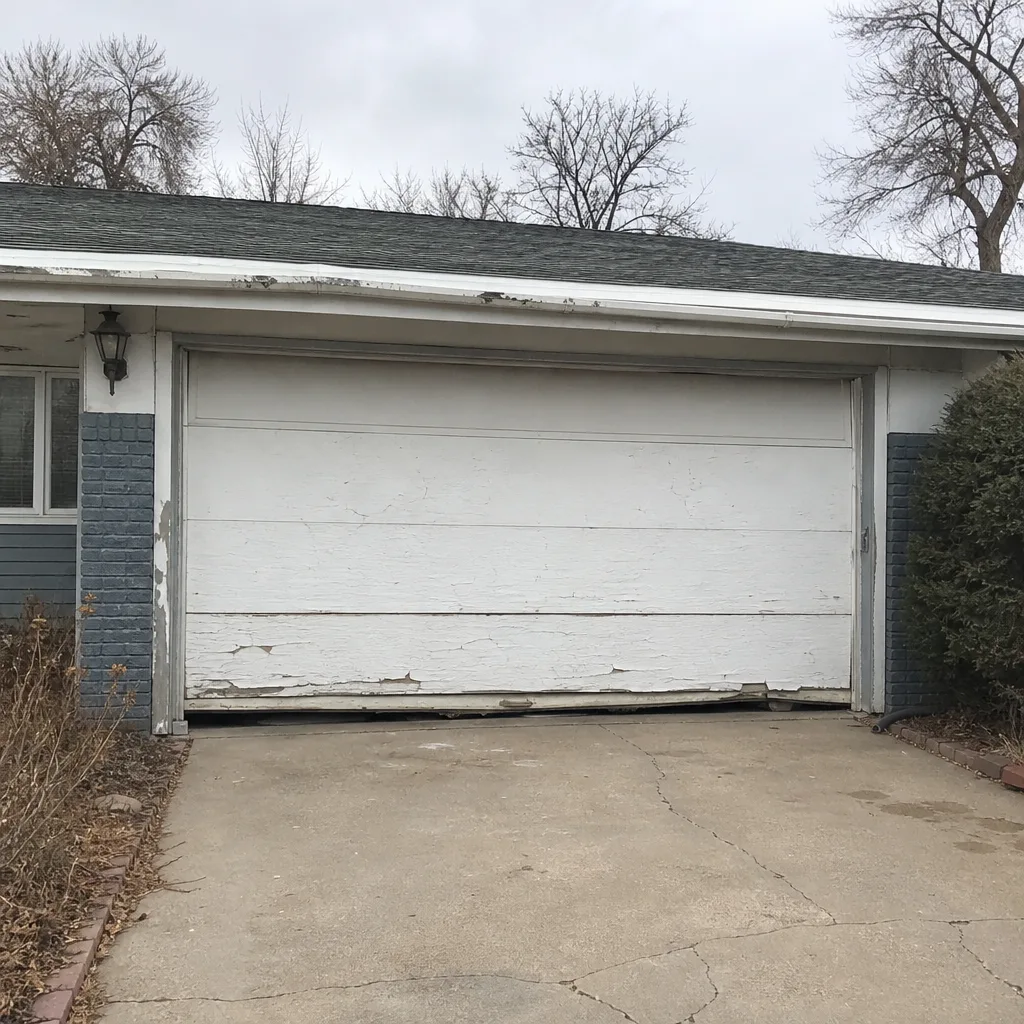 Before
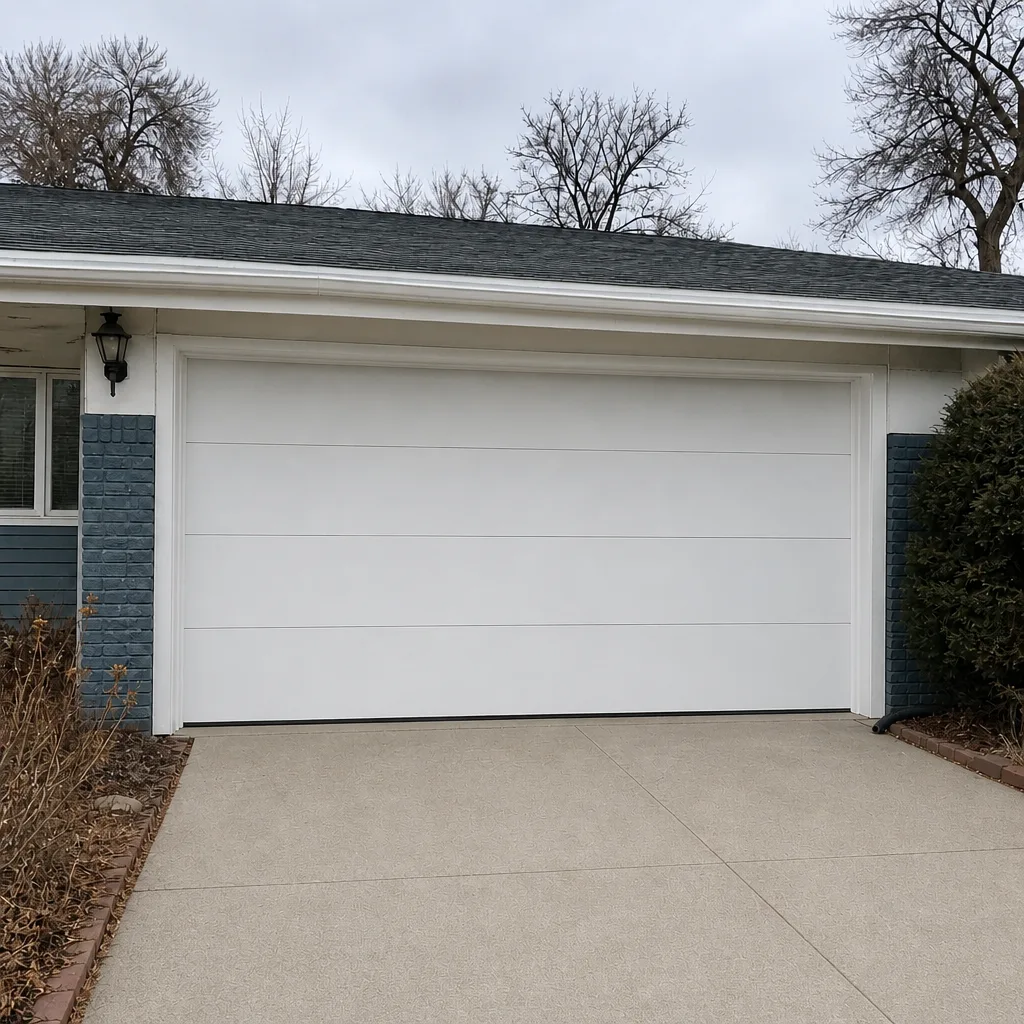 After
When to Call a Professional
Call us when the job involves a spring, a cable, the bottom bracket, a bent or off-track door, or wiring inside the opener. Call when the door won’t stay closed, lifts unevenly, or makes a sharp cracking sound. Call when a frayed cable appears, or when the door comes off its track. These are the specific scenarios where a trained pair of hands is a safety requirement, not an upsell. For the safe list, handle it yourself and keep the budget for what matters. Hampden Garage Door Repair offers free estimates in Hampden – call (855) 490-5104. We answer 24/7. Fast dispatch from 7am to 7pm, Sunday through Friday, and the price is quoted and agreed before any work starts.
Frequently Asked Questions
No, a torsion spring replacement isn’t a safe DIY job. The spring stores hundreds of pounds of energy, and winding or unwinding it calls for specialty bars and the training to keep your body out of the release path. Replacing the bottom weatherstrip, swapping a roller, or programming a remote is a genuine DIY task; a torsion spring is a job for a trained technician. Call (855) 490-5104 for exact pricing – estimates are free.
Most common repairs fall into typical estimated ranges rather than a single price. Weatherstrip and roller swaps are the smallest, spring replacements are the largest, and opener repairs sit in between. Spring pricing is per spring, and a matched pair is usually replaced together, so budget for both. The written estimate before work starts sets the final price – call (855) 490-5104 for yours.
Same-day service is available for repair calls, and fast dispatch runs from 7am to 7pm, Sunday through Friday. Call (855) 490-5104. A call outside dispatch hours is booked into the next opening, Sunday through Friday, 7am to 7pm. Installation and replacement work is scheduled after the measure, not dispatched same-day.
No. The price is quoted and agreed before any work starts. If, once the door is open, we find the job is different from what the estimate assumed – a hidden fray, an extra part – we tell you before touching anything. The written estimate is the number.
Yes. The local professional who arrives is licensed and insured as Colorado requires, and our technicians have up to 13 years of experience. Spring work in particular is done by technicians trained on the counterbalance system, not handed to a generalist.
Yes, and it’s worth doing. Watch the door cycle, photograph anything unusual, and check the weatherstrip, sensors, and remote battery first. Describe it when you call and we can rule out the DIY causes over the phone. That saves you a visit when the fix is simple, and gets the right technician on the right problem when it isn’t. Call (855) 490-5104 – estimates are free.
The Bottom Line
The DIY-versus-pro question isn’t about skill. It’s about stored energy. Handle the seals, rollers, remotes, sensors, and lubrication yourself – they’re safe, they’re cheap, and Hampden’s climate puts most of your wear in exactly those parts. Leave the springs, cables, bottom bracket, and opener wiring to a trained technician, because the risk there is real and the savings are smaller than they look. Run your own diagnosis, do the safe repair, and hand off the dangerous part. That’s the whole decision. When it’s time to hand it off, call (855) 490-5104 for a free estimate.
Written by the team at Hampden Garage Door Repair.